How to Use the Torch
Scarlet Deer Inn's primary survival tool
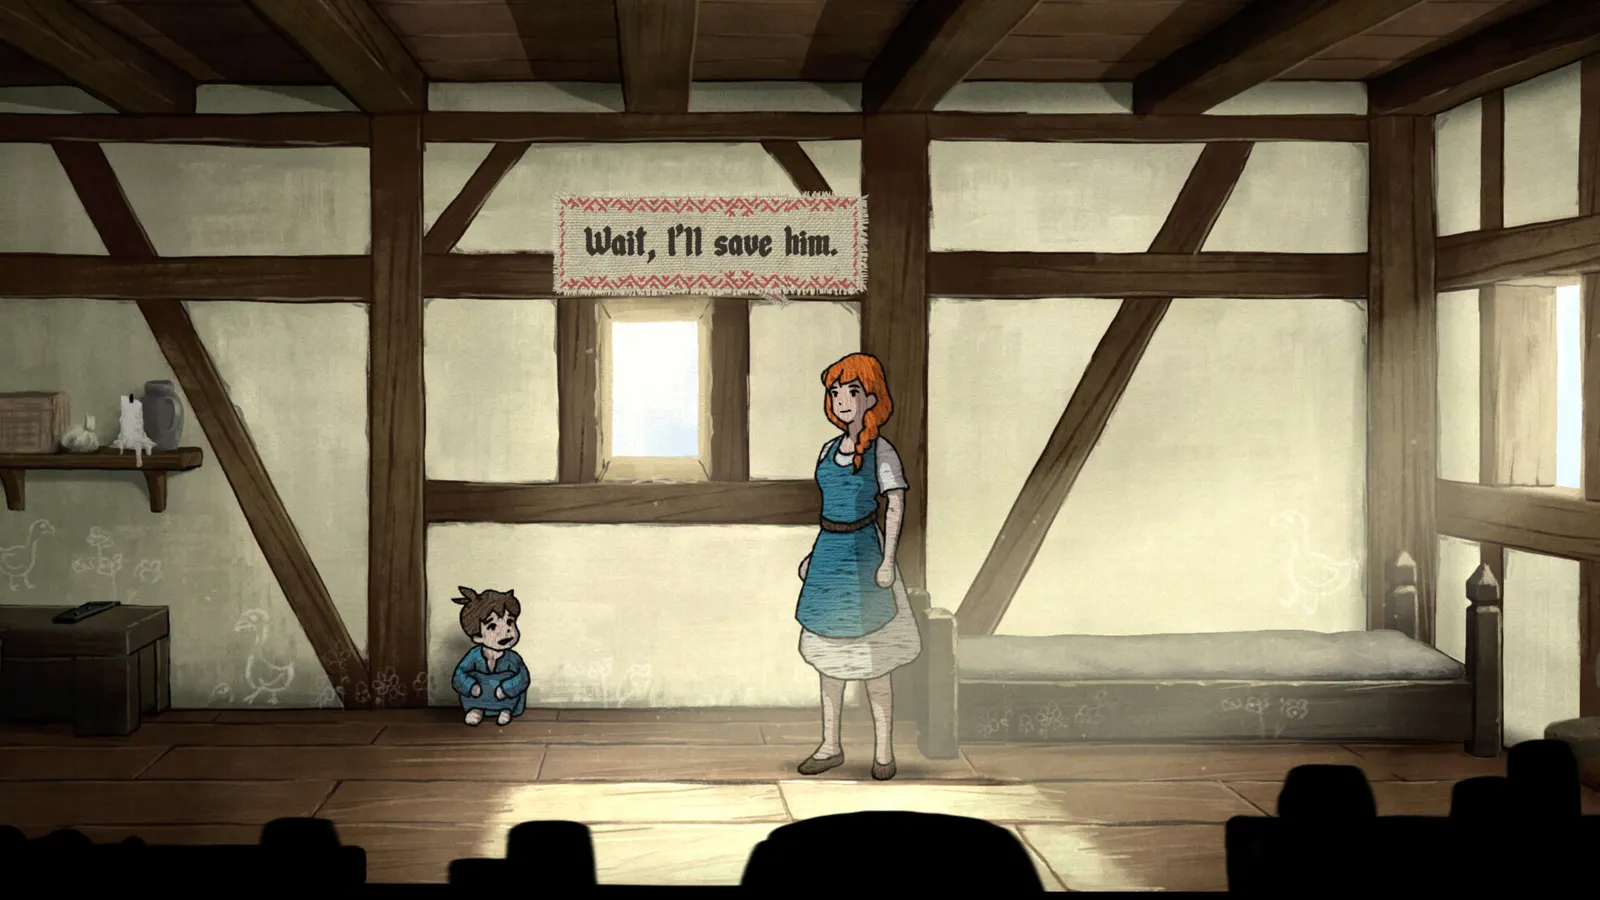
How to Use the Torch in Scarlet Deer Inn
In Scarlet Deer Inn, the torch is not a cosmetic lantern. It is the primary survival tool: it reveals routes, suppresses threats, and solves light-gated puzzles. If you master nothing else before Karel’s pit, master this.
Related pages: How to Play, Survive Chase, Underground Labyrinth, Caves.
What the torch does
- Navigation light: Shows ledges, crate edges, breakable floors, and interactable props.
- Monster pressure: Keeps hostile presence back when aimed or held correctly.
- Puzzle key: Works with braziers and dark-gate spaces that refuse progress without sustained light.
Think of the torch as both verb and resource of attention. You are not managing a huge fuel minigame so much as managing where your courage is pointed.
Patch notes that affect torch play
- Patch 1.012 improved visibility in dark areas and fixed loading with the torch out while a glowing bug was active — update before blaming the tool.
- Patch 1.007 tweaked underground torch visibility; on Patch 1.013, habits still matter more than any single tweak.
- Patch 1.014 further improved visibility and lighting in dark areas and chase scenes.
- Patch 1.017 fixed a freeze when interacting with a torch and fire — update if lighting braziers hard-locks the client. See Known issues.
Habit 1: Enter dark rooms already lit
Do not walk into blackness and then decide to raise the torch. Raise it at the threshold. Most deaths and missed toys happen in the first two seconds of a poorly lit entry.
Threshold checklist:
- Stop at the doorway
- Raise torch
- Pan across floor seams and corners
- Step in only after you know the first landing
Habit 2: Paint corners, then commit
Underground geometry likes to hide levers opposite your entry facing. A quick corner paint prevents accidental chase triggers while you are staring at the wrong wall.
Use a triangle pattern: left wall, far wall, right wall, then floor. Only then move crates.
Habit 3: Braziers are route memory
Braziers convert temporary torch light into regional safety. Whenever you can light one without breaking a puzzle, do it. Lit nodes are how you survive the light-chase creature later.
Brazier priorities:
- Nodes that connect two exploration wings
- Nodes near shortcut doors
- Nodes before scripted chase corridors
If you must choose between lighting a brazier and grabbing a distant toy during tense audio, choose the brazier. Toys wait; wipes reset progress pressure.
Habit 4: Torch during puzzles, not after
Players often solve a lever puzzle in the dark by muscle memory, then wonder why the next gate does not read as open. Light changes what the scene tells you. Keep the torch involved while testing lever states so you can see newly revealed floor breaks, crate gaps, or toy glints.
Habit 5: Chase stance is different from search stance
Search stance: slow sweep, stop often, inspect shelves.
Chase stance: torch oriented to suppress, body oriented to known exit, no novelty floors.
Switch deliberately. The chase guide expands this, but the torch-specific rule is simple: never lower light to grab a collectible while pursuit is active.
Village practice before you need it
The opening village is forgiving. Practice raise/hold while delivering cakes to Karel, Otto, and Lada, and while walking to Father Johannes and the oak tree. You want muscle memory before Karel’s apiary cellar.
Common torch mistakes
- Lowering the torch to “see the UI better” in dark combat-adjacent rooms
- Lighting no braziers because the current room felt clear
- Turning away from a threat while crossing a long dark lane
- Breaking floors you have not inspected with light
- Assuming every dark obstacle needs a new item when the torch angle alone was the answer
Platform notes
Torch inputs differ by device, but the logic does not. Confirm bindings on keyboard, controller, or Steam Deck. If your hands fight the camera while aiming light, lower sensitivity slightly for underground chapters.
Puzzle patterns you will see
- Light to reveal a climb — torch shows a crate route that was visually crushed by darkness.
- Light to hold a lane — keep a threat suppressed while you cross to a lever.
- Brazier chain — temporary torch range is not enough; permanent nodes are required.
- Post-lever reveal — a new alcove only reads correctly under light after a gate moves.
How torch skill affects completion
Better torch play means safer collectible sweeps and fewer achievement retries around survival milestones. Use collectibles after rooms are lit and calmed. Tick survival-flavored milestones on the achievement checklist only after you understand light nodes in that region.
Quick reference card
- Doorway: torch up
- New room: paint corners
- Safe room: light braziers + open shortcuts
- Puzzle room: light while testing states
- Chase room: light toward threat, move toward known route
- Aftermath: re-sweep for rag doll, flute, and other toys
Master the torch and Scarlet Deer Inn’s underground stops feeling unfair. Fail to master it, and every later system — shortcuts, chase, collectibles — gets harder than the designers intended.
Frequently Asked Questions
Quick answers tied to this page.
Is the torch optional in Scarlet Deer Inn?
No. It is the primary survival and puzzle tool, especially after the pit.
Should I light every brazier?
Light every brazier that improves route safety or chase recovery unless a puzzle clearly requires a different state.
Why do I keep missing levers?
You are probably entering rooms dark or facing only one wall. Paint corners with the torch before moving crates.
Can the torch hold monsters back indefinitely?
It suppresses and buys routing time. Use that time to reach braziers, shortcuts, and exits rather than staring a threat down forever.
When should I lower the torch?
In clearly safe, fully lit spaces while sorting inventory or reading dialogue. Not in unsettled underground rooms.
Where do I practice?
Village paths and Karel's early cellar before the hardest chase rooms.